Connect Users
Using the Connect UI components
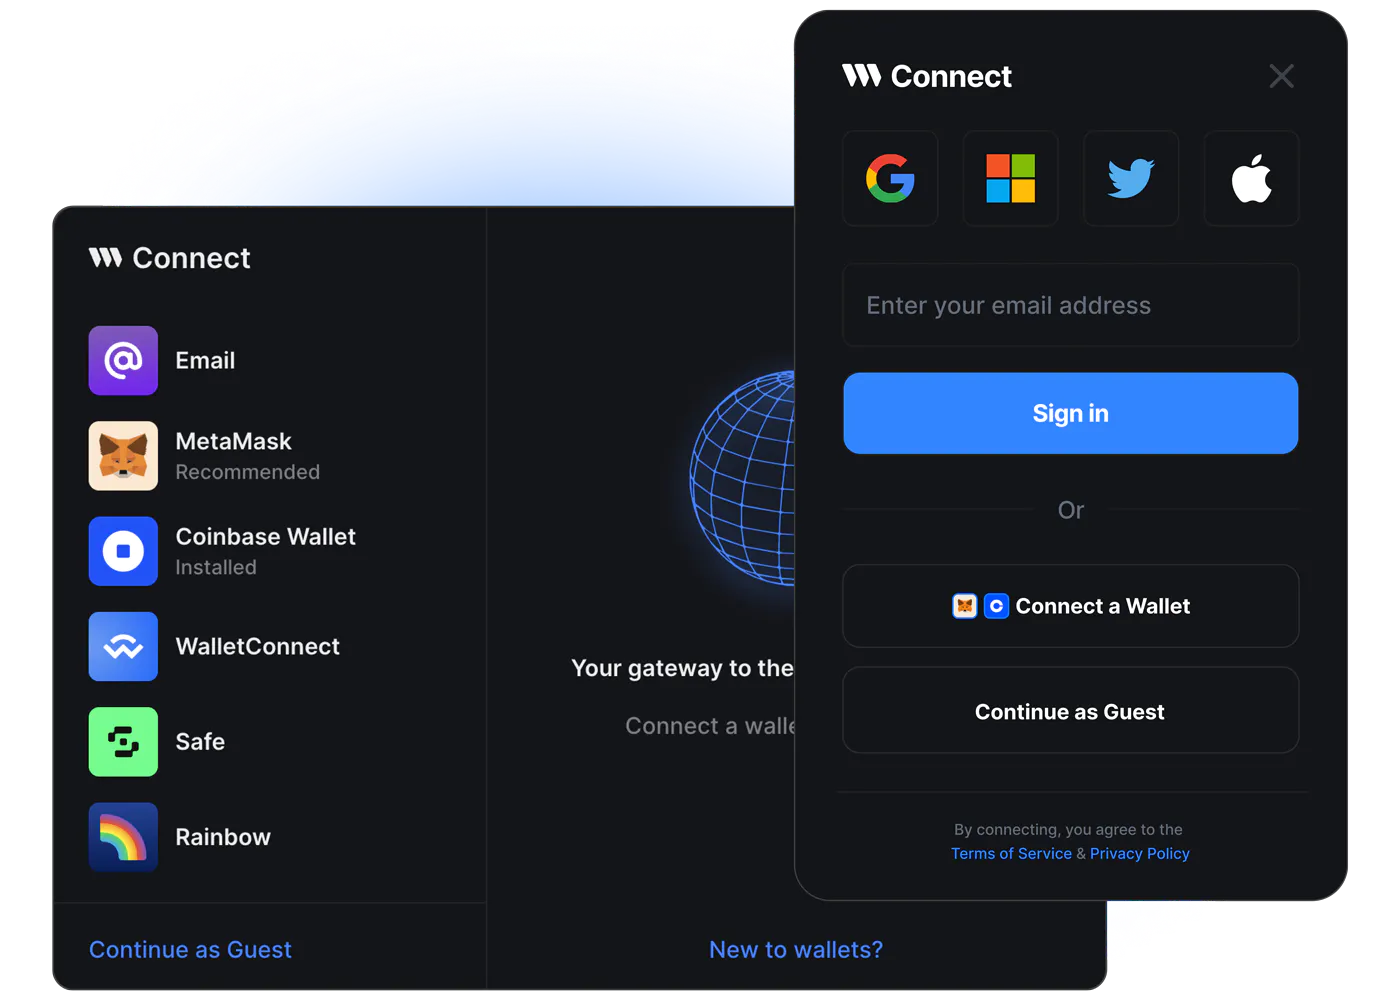
If you're building a React website, React Native app, or Unity game you can use the prebuilt connect UI components to authenticate users and connect their wallets.
- React
- React Native
import {
  ThirdwebProvider,
  ConnectWallet,
  embeddedWallet,
} from "@thirdweb-dev/react";

export default function App() {
  return (
    <ThirdwebProvider
      activeChain="goerli"
      clientId="YOUR_CLIENT_ID"
      supportedWallets={[embeddedWallet()]}
    >
      <ConnectWallet />
    </ThirdwebProvider>
  );
}
import {
  ThirdwebProvider,
  ConnectWallet,
  embeddedWallet,
} from "@thirdweb-dev/react-native";

export default function App() {
  return (
    <ThirdwebProvider
      activeChain="goerli"
      clientId="YOUR_CLIENT_ID"
      supportedWallets={[embeddedWallet()]}
    >
      <ConnectWallet />
    </ThirdwebProvider>
  );
}
Customize the connect UI
Choose authentication methods
By default, the connect UI supports Google, Apple, Facebook and email/password authentication. You can customize which authentication methods to support which will be reflected in the UI.
- React
- React Native
<ThirdwebProvider
  supportedWallets={[
    embeddedWallet({
      auth: {
        options: ["email", "facebook", "apple", "google"],
      }
    })
  ]}
>
<ThirdwebProvider
  supportedWallets={[
    embeddedWallet({
      auth: {
        options: ["email", "facebook", "apple", "google"],
        redirectUrl: "your_app://deeplink" // required for social logins only
      }
    })
  ]}
>
Customize the selection and connection UI
the ConnectWallet component allows for overriding:
- The name, icon and upsell links for the wallet
- The selection UI - the UI before the users selects the wallet
- The connection UI - the UI after the user selects the wallet
const embeddedWalletConfig = embeddedWallet();

// change the name
embeddedWalletConfig.meta.name = "...";
// change the icon
embeddedWalletConfig.meta.iconURL = "...";
// override connection UI
embeddedWalletConfig.connectUI = embeddedWalletConnectUI; // your react component
// custom selection UI
embeddedWalletConfig.selectUI = embeddedWalletSelectUI; // your react component
You can then pass the customized embeddedWalletConfig to the ThirdwebProvider component in supportedWallets. You can then use it with ConnectWallet component or useConnect hook as shown below
<ThirdwebProvider supportedWallets={[embeddedWalletConfig]}>
  <ConnectWallet />
</ThirdwebProvider>